Cisco SPA504G
When you login to your Dashboard for your phone, you will need to change it into Admin mode and have it set to Advanced, this is what you will see when you have switched the modes

before you switch into Admin mode

my phone is set up using line 3 but you may use any line available to complete the setup process, also please note there is not an automatic script for the setup of this phone
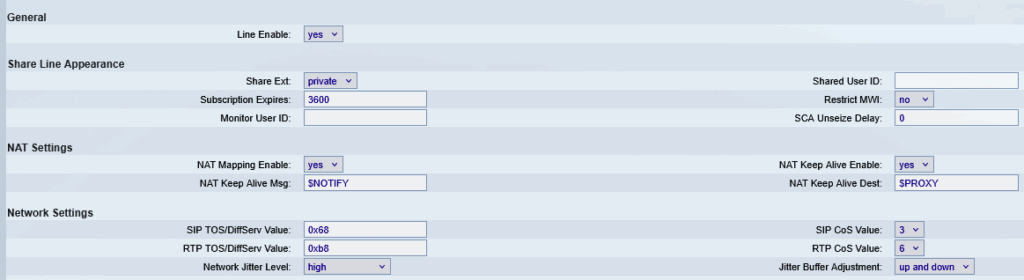
.1. Set Subscription Expires to 3600 if that is not the default
Leave all other settings as is, do not forget under General to set Line Enable to YES

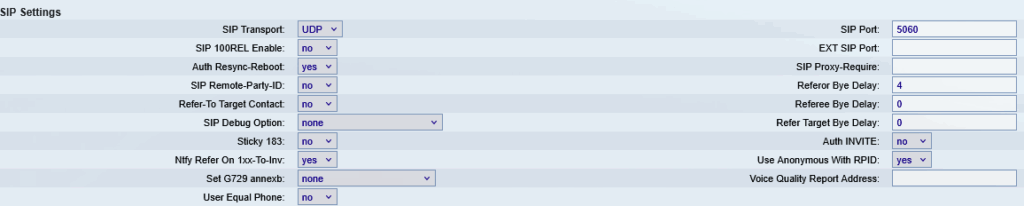
Under SIP Settings make sure SIP Transport is set to UDP and the SIP Port is 5060 leave all other settings as is.
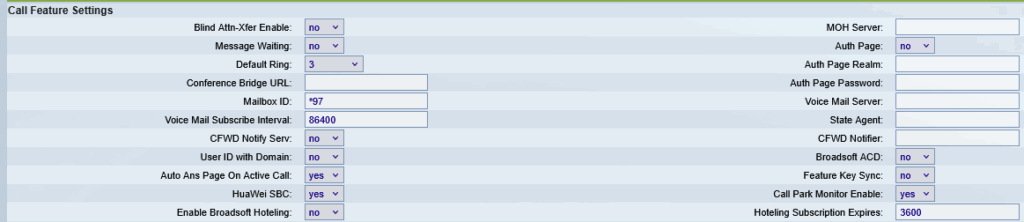
Only Thing to change here is Mailbox ID SET TO *97
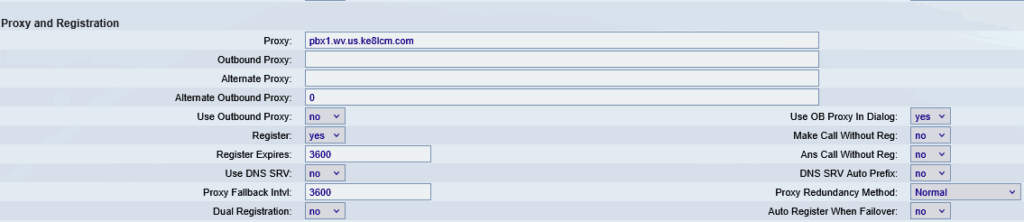
The Proxy address is pbx1.wv.us.ke8lcm.com

Next we are to Subscriber Information
- Display name, this would be your EXT #
- User ID EXT #
- Your password that was sent to you, Please make sure you copy it from the email, for accuracy, also watch for trailing spaces, the password box will see spaces as part of the password.
- SIP URI pbx1.wv.us.ke8lcm.com
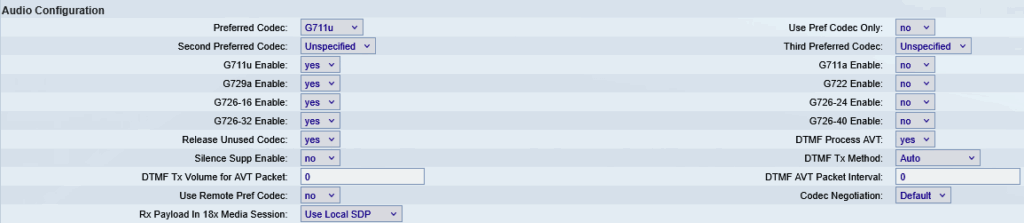
Audio Configure
Should not need to change any settings here.

Dial Plan, It should fill this in for you Please make sure the Enable IP Dialing is set to YES

When you are finished Click the Submit All Changes

Your phone will physically restart at this point and your buttons will flash on the phone and Side car if you have one connected.
Your line you chose should be green now.